
The Middle Ages
The basic minting process of melting and casting metal, cutting blanks from that metal and the striking of those blanks between a pair of engraved dies is essentially timeless. But, needless to say, the manner in which the various stages of this process have been carried out has changed beyond recognition over the centuries.
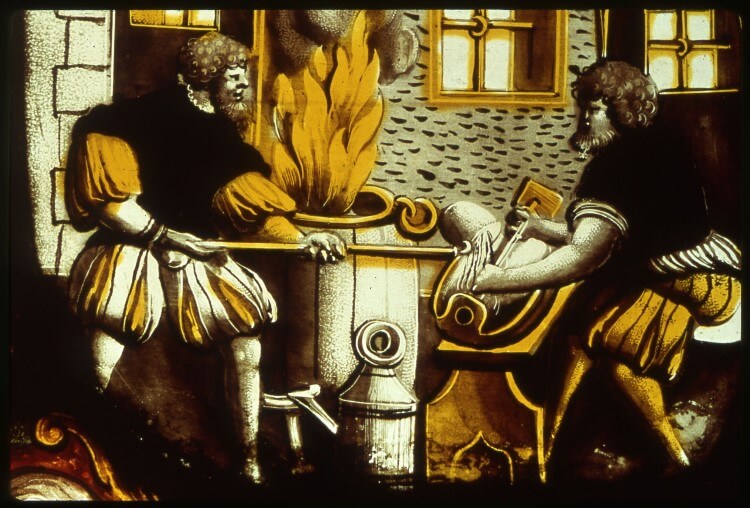
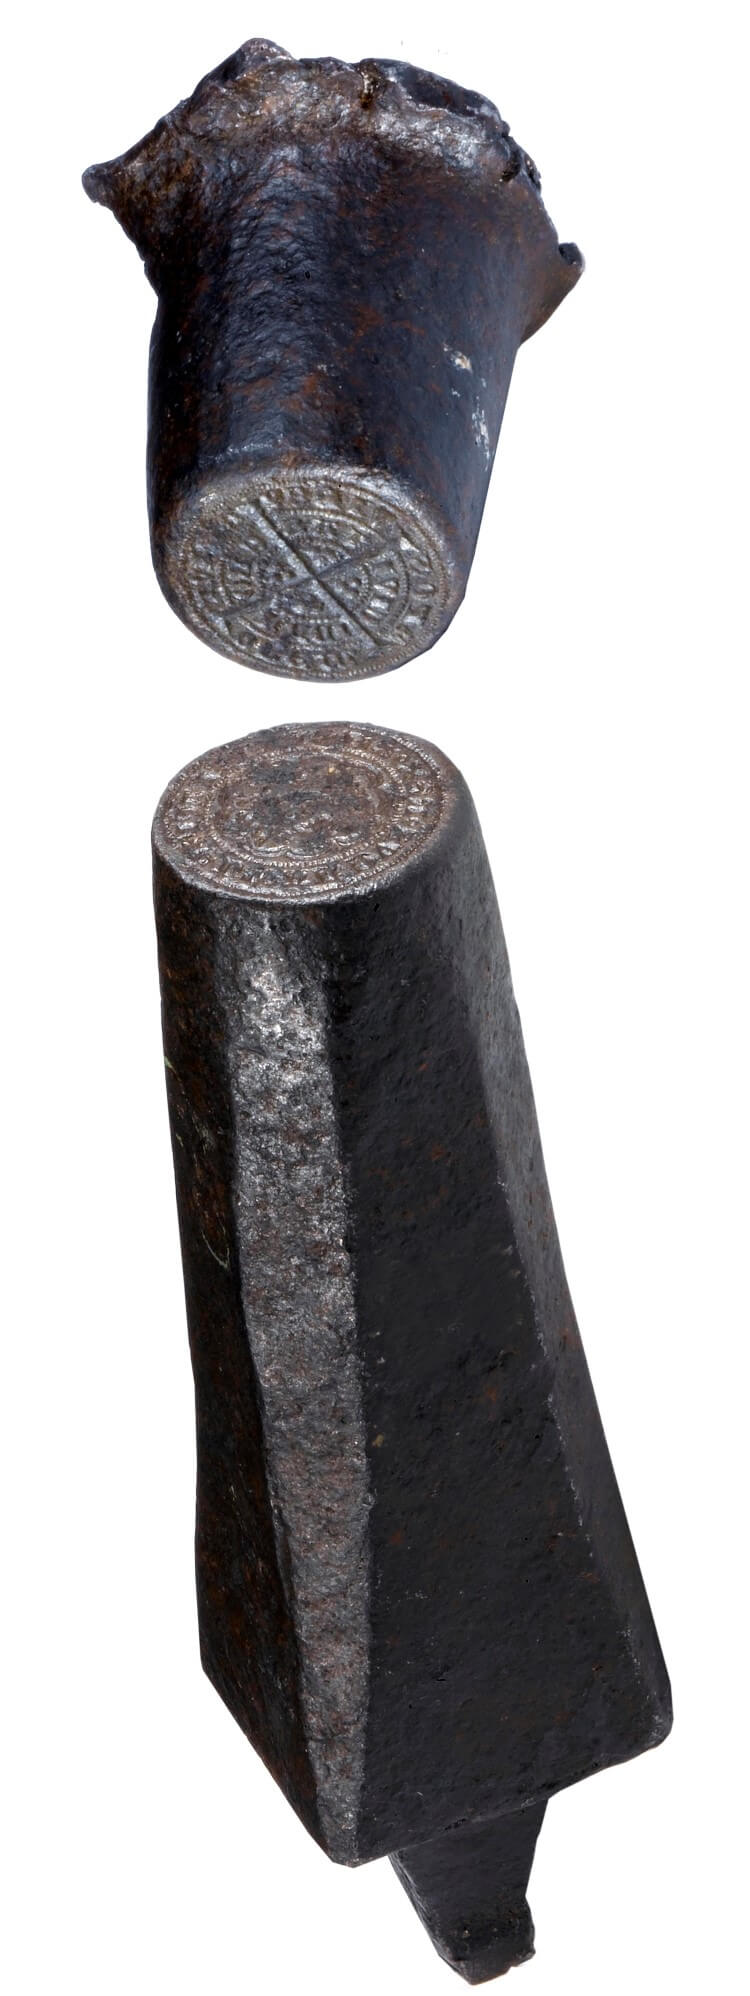
Up until the 1660s, English coins were struck between a pair of hand-held dies. The pile, or lower die, had a spiked end to enable it to be driven firmly into a block of wood; a blank was placed on top of the pile and above it was held the trussel or upper die. The trussel then received blows from a hammer, causing the blank to be impressed with the obverse and reverse designs.
Dies were produced on average at the rate of two trussels to one pile, for the trussel by sustaining the direct blows of the hammer was subjected to greater wear and tear. It was therefore the custom for the trussel to bear the reverse design, since this was simpler and more easy to replace than the royal portrait which by now normally appeared on the obverse. Yet even the portrait may not have been that difficult to reproduce, being constructed by small chisel-like punches showing crescents, pellets, wedges and bars.
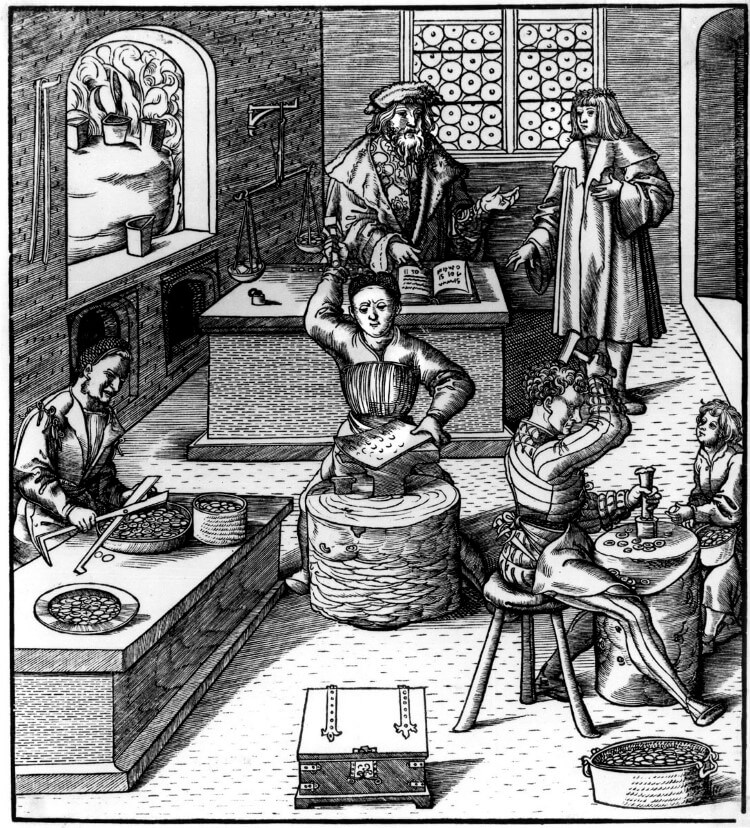
Written accounts of the minting process from this time are few and far between but a document of 1606 lists out a 16-stage process:
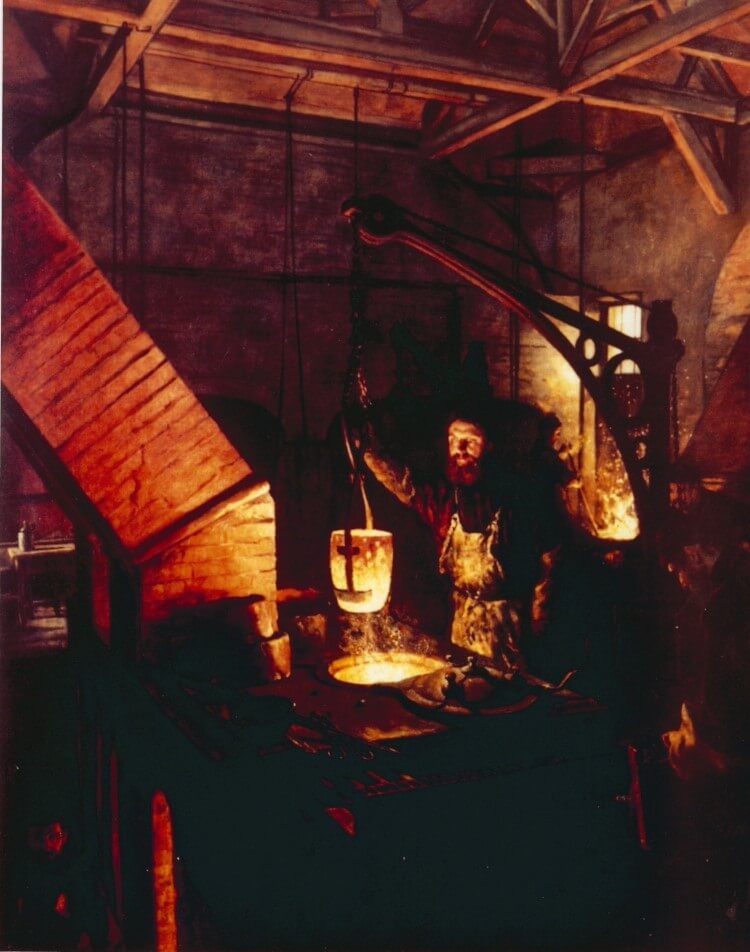
- melting and casting the ingots,
- annealing, or heat treating, the ingots to soften them,
- hammering the ingots,
- another annealing,
- cutting the ingots into blanks,
- annealing the blanks,
- hammering the blanks thinner,
- another annealing,
- another hammering of the blanks,
- another annealing,
- another hammering of the blanks,
- rolling and
- hammering the edges to make the blanks rounder,
- another annealing,
- blanching to clean the blanks
- and then finally coining.
The Early-Modern period
The minting process in England was finally mechanised in the early 1660s, shortly after the Restoration of Charles II. Indeed, it has been suggested that the change may have been prompted by the king’s shame at the contrast between the first coins of his reign and those of Louis XIV.
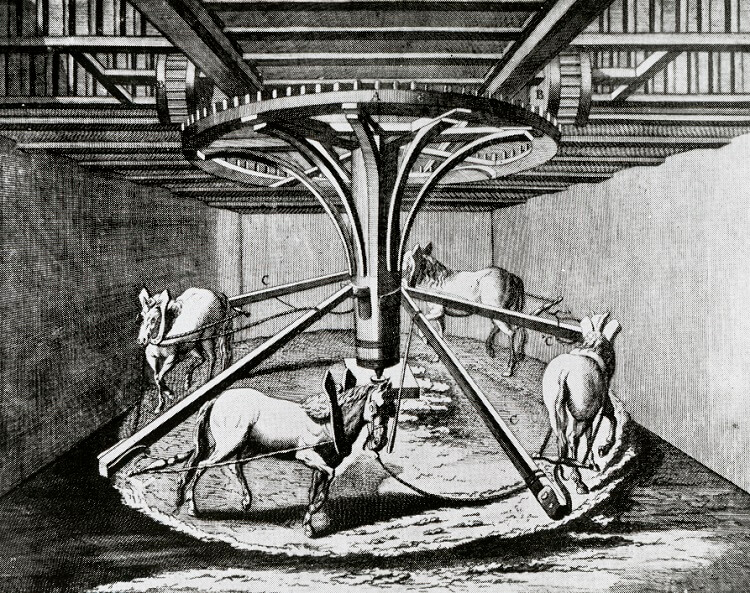
Under the new system, the metal was cast into fillets of the breadth and little more than the thickness of the intended coin. These fillets were reduced by a rolling mill, operated by horses tramping round a cellar below, and from the fillets blanks were punched by a small fly press.
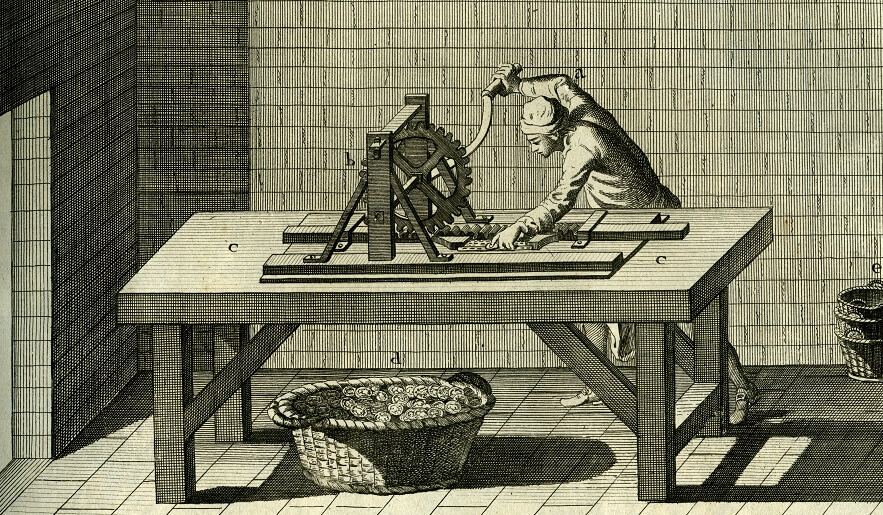
The striking of the blanks was performed in a simple and effective screw press, which brought down the upper die onto the blank by the action of a large screw carrying the die in a holder mounted at its lower end.
The screw was set in motion by workmen pulling at the weighted end of a long horizontal bar and descended with great force to hit the blank resting on the bottom die. Blanks could be struck at the rate of one every two seconds, but it was extremely tiring and the teams of workmen could not work for long at a time. Even less to be envied was the moneyer, usually young and nimble, who had the task of flicking the newly struck coin away from the dies and putting a fresh blank in its place.

The Modern Age
The new Royal Mint on Tower Hill, opened in 1810, was equipped with steam-powered machinery purchased from the great entrepreneur Matthew Boulton. With the factory dominated by flywheels and ponderous lines of shafting, the Royal Mint had truly entered the industrial age. Eight massive presses, separated by columns of oak, stood in the Coining Press Room, operated by a ten-horsepower steam engine. They were each capable of striking about 60 coins a minute and when all of them were at work the noise was deafening.
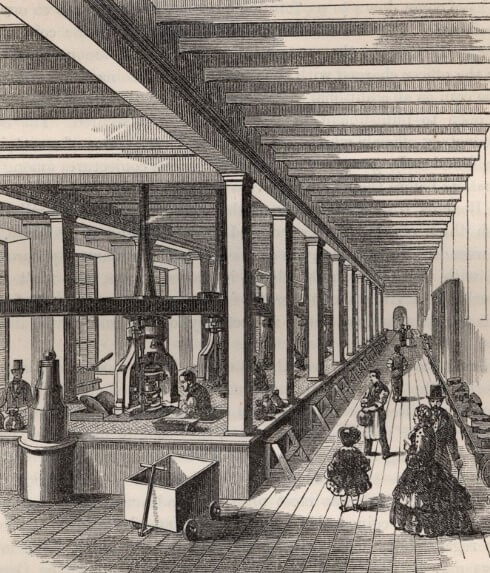
In the 1880s the factory buildings were reconstructed and the Boulton presses in the Coining Press Room were replaced by a double line of smaller presses from Heaton’s of Birmingham – a little faster but much quieter. With change and alteration becoming almost continuous, the old steam engines were finally replaced by electricity in 1907.
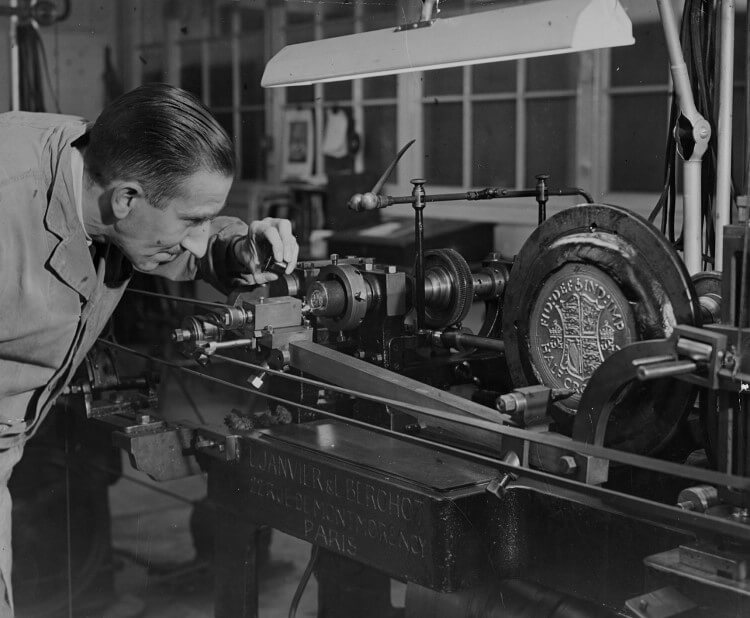
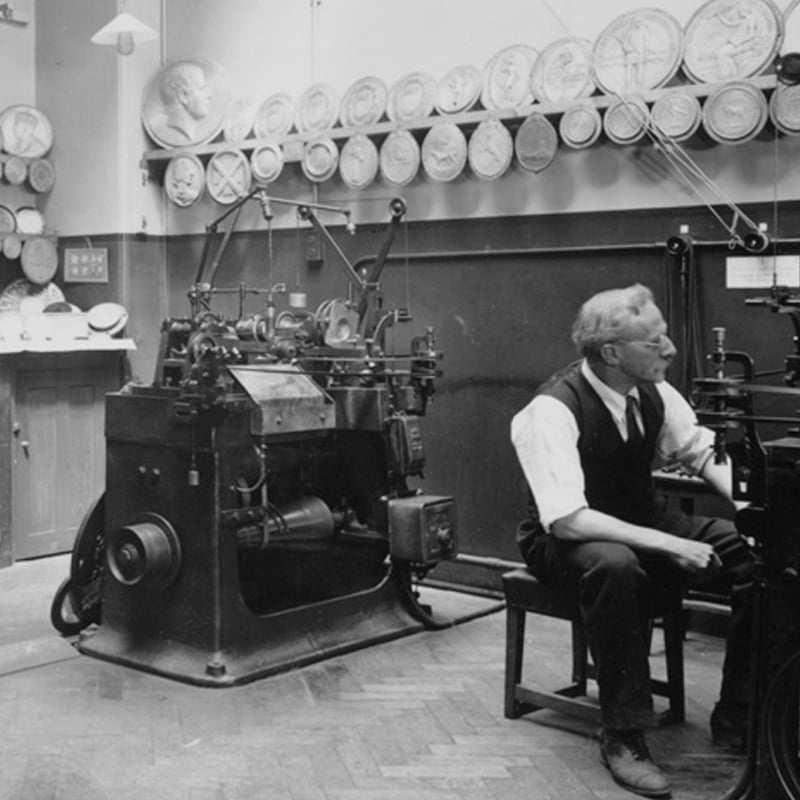
Perhaps the most significant development around the turn of the 20th century was the much increased use of the reducing machine in the production of master tools. Instead of having to hand-engrave a design at size and in the steel, an artist could now prepare a low-relief plaster model – usually around 150-250mm in diameter. A mould was taken from the plaster model and then electroplated with nickel and copper, yielding a reproduction in metal of the original model known as an electrotype. The electrotype was mounted on the reducing machine where its details were scanned by a tracer. The movements of the tracer were communicated to a rotating cutter which copied them at coin size into a block of steel. The resulting master punch would then be used to make additional tooling which would ultimately make the coining dies. Reducing machines continued to be used at the Royal Mint until the early years of this century.
Making money today
Making blanks
Making blanks for coins in homogeneous alloys, such as cupro-nickel and nickel-brass
The appropriate metals required for the alloy are added to a charging furnace where they are heated to temperatures of up to 850°C. A sample is taken from the melt and immediately analysed on an x-ray fluorescence spectrometer to ensure that the composition is within the permitted tolerance. The melt is then poured from the charging furnace into a holding furnace which sits just below.
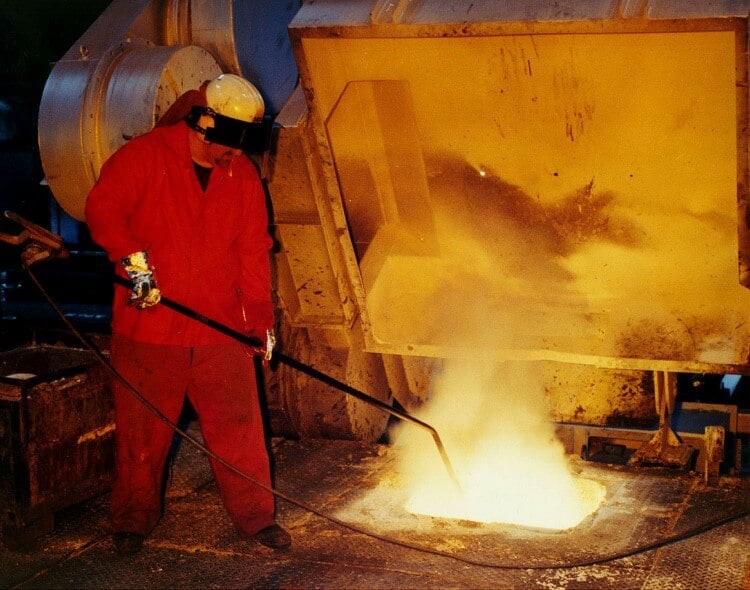
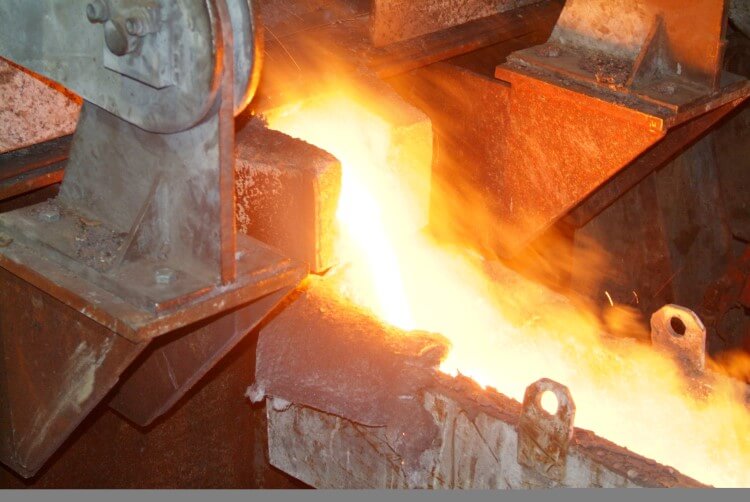
At the base of the holding furnace are a pair of water-cooled graphite dies. The metal is drawn out between these graphite dies in the form of a continuous strip which is wound into large coils weighing up to three tons.
Casting impurities are then removed from the surface of the strip in the scalping machine, where rotating blades shear off half a millimetre from the upper and lower faces. In this manner, the dull and grubby appearance of the strip is transformed to one that is clean and shiny.

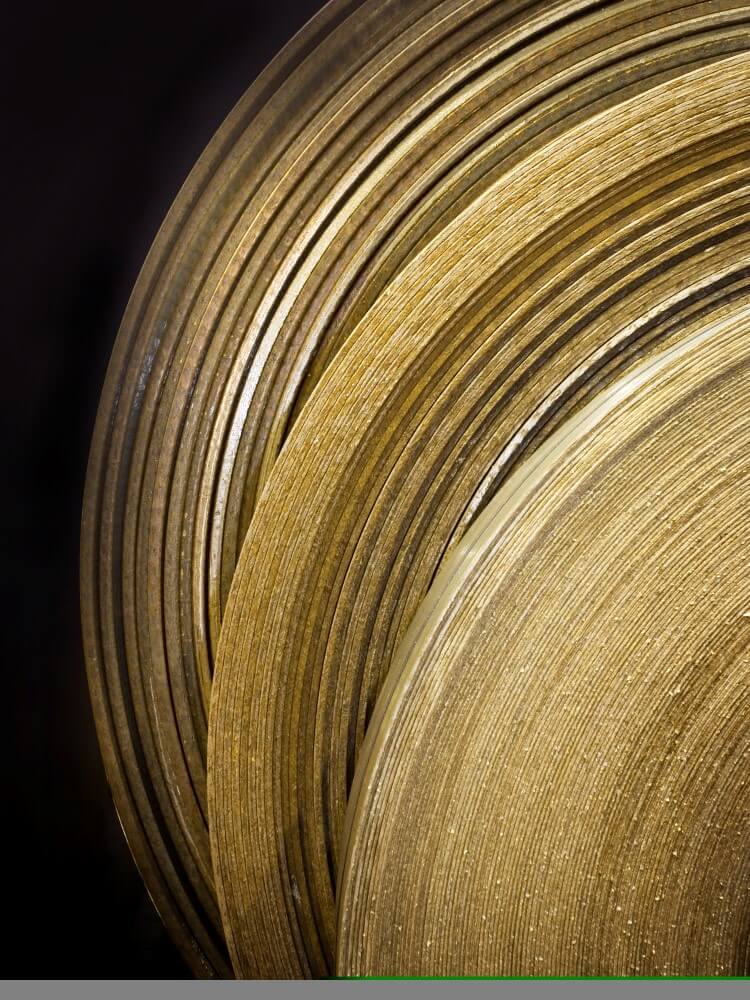
The strip, usually cast around 16mm thick, then has to be rolled down to the correct thickness. Most of the work is done by the tandem mill, or heavy roller, which in two passes reduces the thickness of the strip to around 3mm. The process is completed on a finishing mill which in several passes reduces the strip to coin gauge.
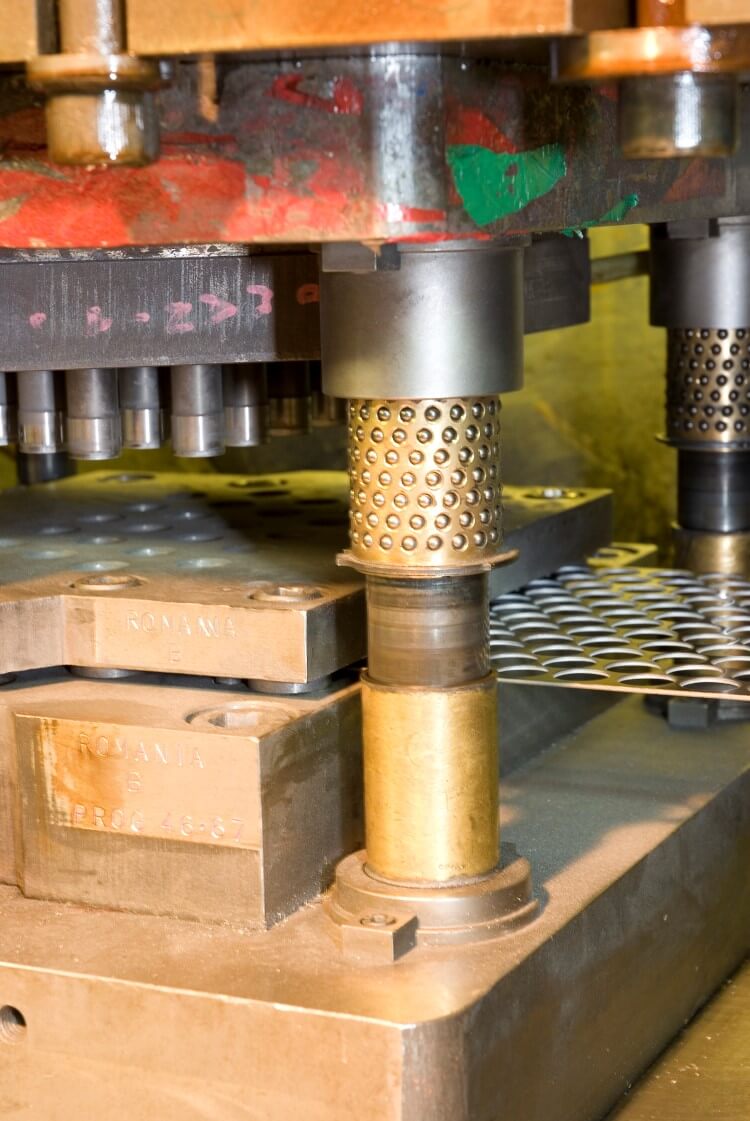
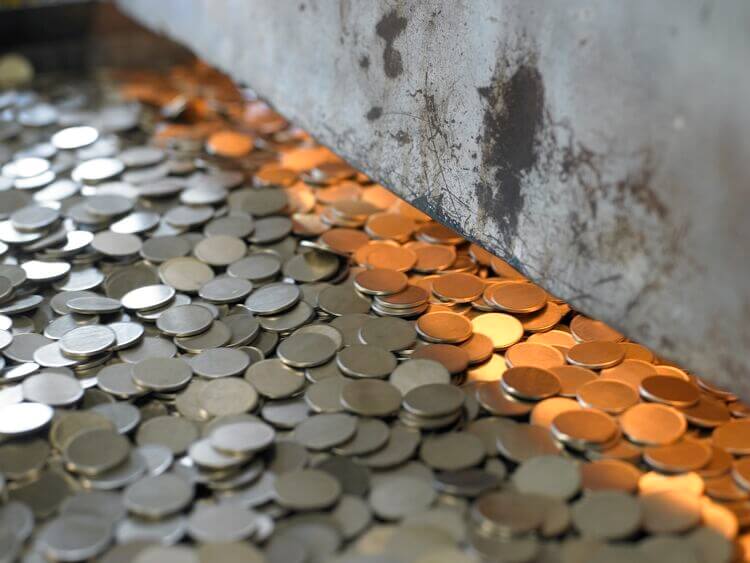
Blank discs of metal of the appropriate size are then punched from the strip in the blanking press. The blanking plate, incorporating around 15-20 blank punches, goes up and down 4-5 times a second so a single blanking machine can produce up to 6000 blanks a minute.
Having become work hardened, the blanks then have to be annealed, or heat treated, in order to soften them. To achieve this, they are passed along a conveyor belt through an annealing furnace where they are heated at temperatures of up to 950°C.
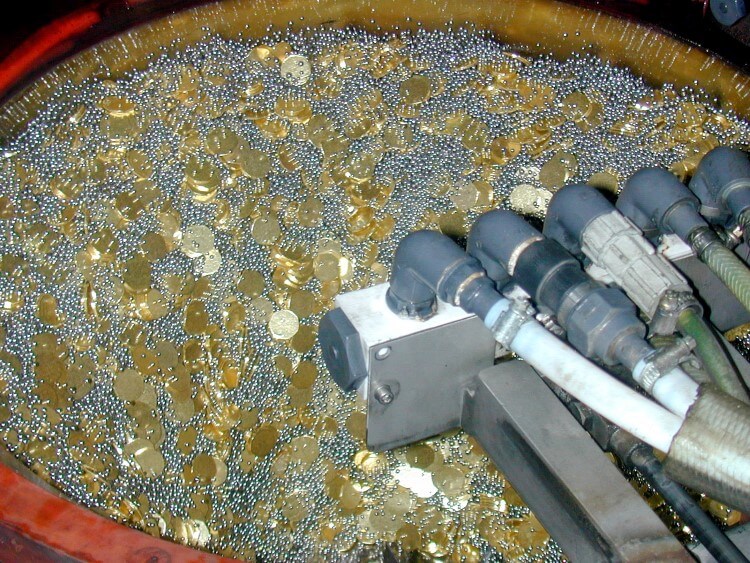
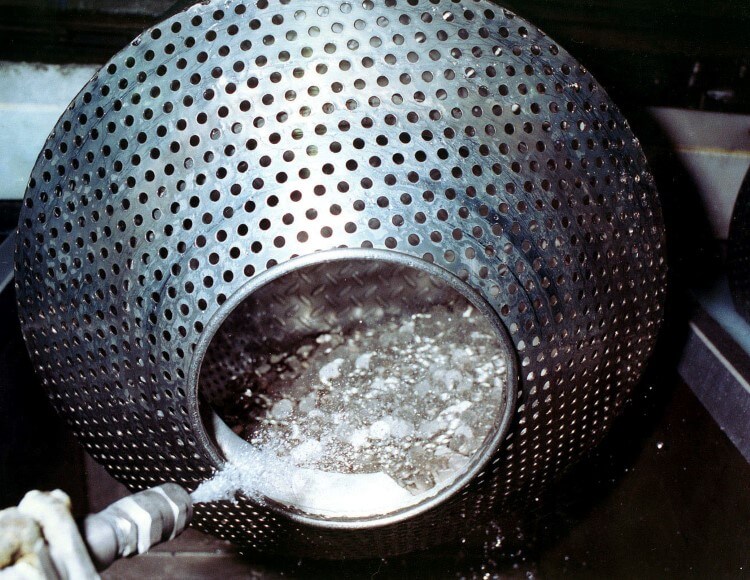
The blanks have then to be cleaned in a pickling bath to remove any blemishes from the surface. Ball bearings are added to the blanks and, together, they are swirled around in the pickling bath in a solution of sulphuric acid, the abrasive action of the ball bearings and the solution serving to clean the surface of the blanks.
After a final wash and dry, the blanks are ready for striking.
Making blanks for plated-steel coins
Given that the Royal Mint is not equipped to make its own steel, large coils of the metal are bought in and blanks punched out in the normal way. The blanks are then sent to the plating lines where they can be plated with a thin layer of copper, nickel or brass. Each plating line is made up of a series of baths, consisting of cleaning stations, plating baths and rinses. The blanks are loaded into rotating barrels which pass from one bath to the next: in the cleaning stations the surfaces of the blanks are cleaned to ensure a good adhesion with the plate; in the plating baths the required metal is electroplated onto the surface of the blanks; and in the rinses the acids or alkalis used in the plating baths are washed away. After plating, the blanks are cleaned in a pickling bath in the manner described above.
Making dies
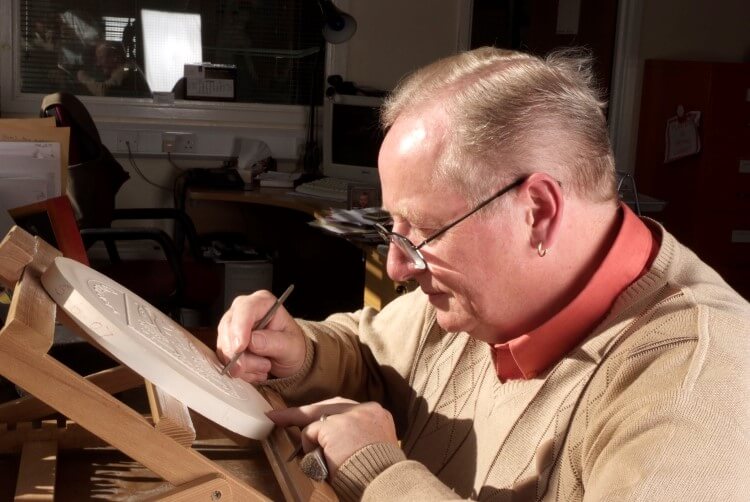
To begin with, an artist prepares a low-relief plaster model of the chosen design.
The plaster model is placed on a scanner where a ruby-tipped probe slowly traces over the surface, recording the details of the design as a digital file on a computer. Modifications can then be made to the design on-screen using a sophisticated Computer-Aided Design package.
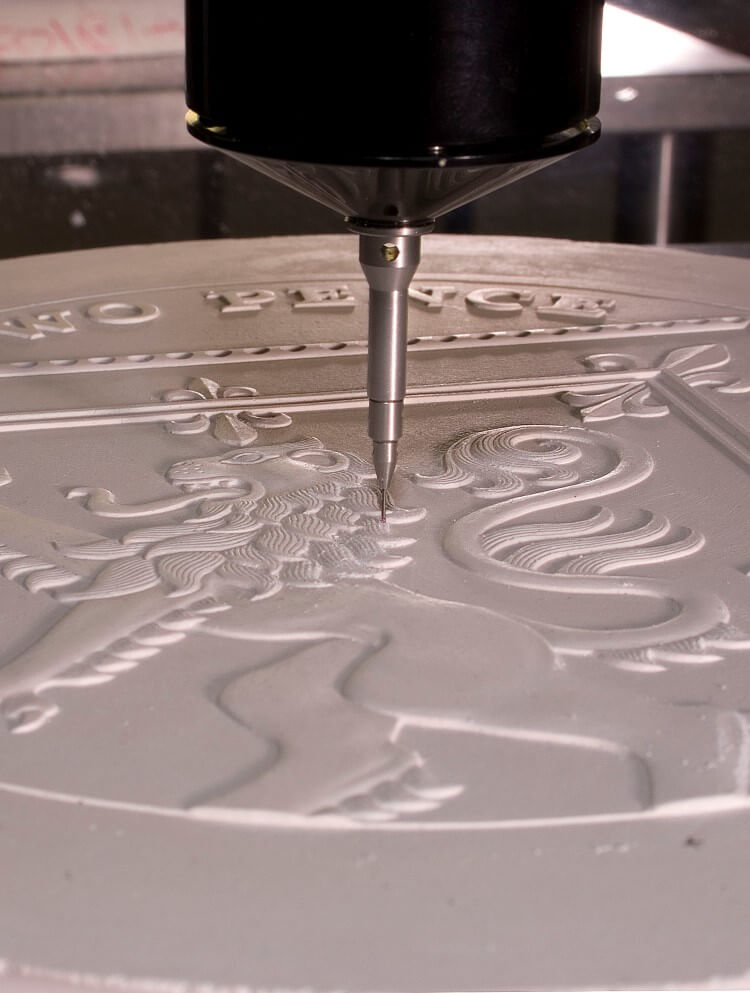
When the design has been finalised, the digital file is translated into a cutting programme, a series of XYZ co-ordinates instructing a computer-controlled engraving machine how to cut the design into a soft piece of steel at coin size. The design is cut in two stages, a rough cutter removing the bulk of the metal and a fine cutter adding the detail.

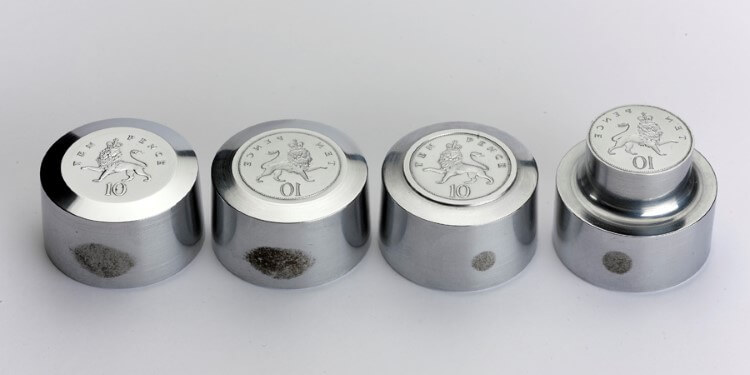
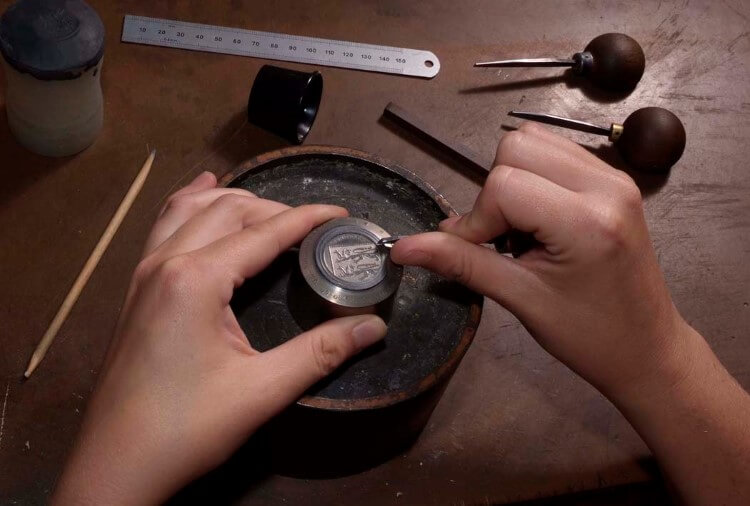
Known as a reduction punch, the steel tool cut on the engraving machine bears the features of the design in relief as on a coin. After it has been worked on by hand, to remove defects and strengthen features of the design, the reduction punch is hardened by heat treating. It is then sunk into another soft piece of steel to produce a tool, known as a matrix, on which the features of the design are incuse. More handwork follows and then the matrix is hardened and sunk into a soft piece of steel to produce a working punch. Yet more handwork, then the working punch is hardened and sinks the dies which are used in the coining presses.
Even at this late stage, still more handwork is required to sharpen the design details on the dies.
Striking coins
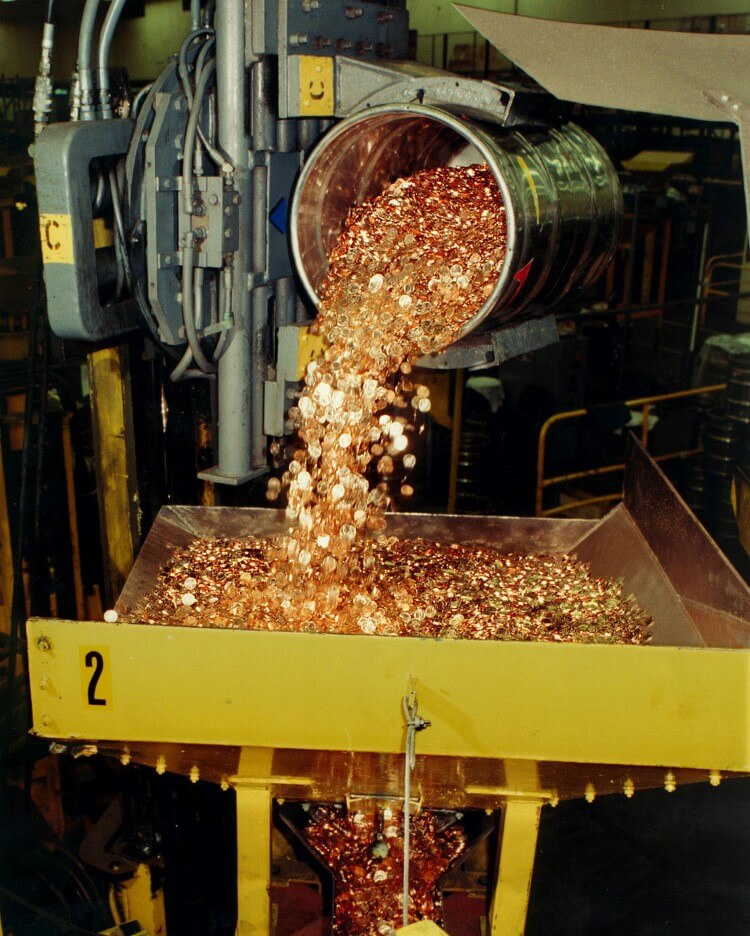
In the Coining Press Room, fork-lift trucks tip crates of blanks into hoppers positioned at the top of the coining presses.
From the hopper the blanks are fed into the coining press, each one being inserted into a slot in the dial plate. Spinning around, the dial plate brings each blank in turn to rest on top of the lower die. The lower die moves upwards, pushing the blank into a restraining collar and against the upper die with a pressure of around 60 tons.
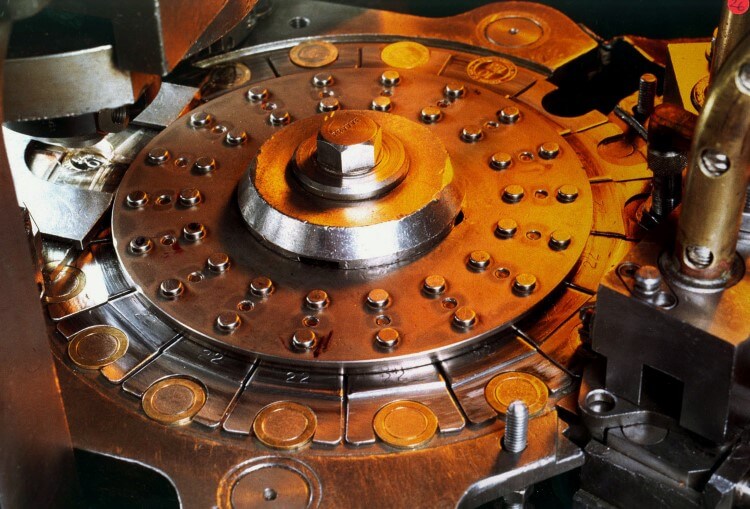
In this way the blank receives the impression of both dies, while at the same time it is forced outwards to take the design of the collar – plain or milled depending on the denomination. The upper die then moves downwards, pushing the struck coin out of the collar and back down into the dial plate which then moves along and ejects the coin. A modern coining press can strike coins at speeds of up to 850 a minute.
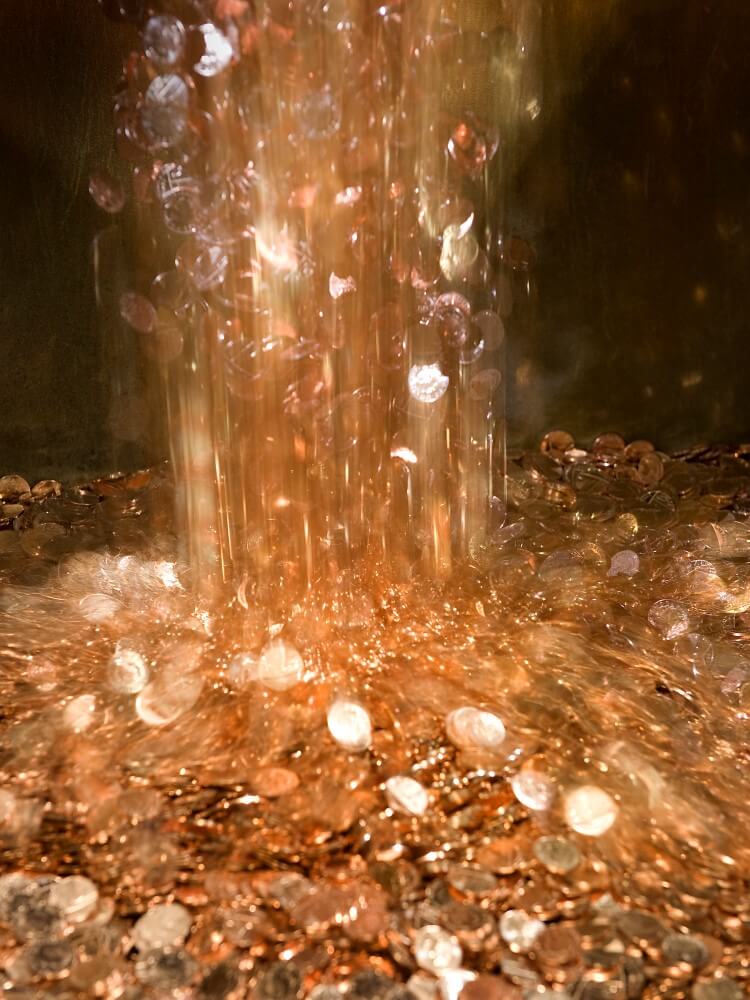
The coins are then packed and stored, ready for despatch.
You might also like
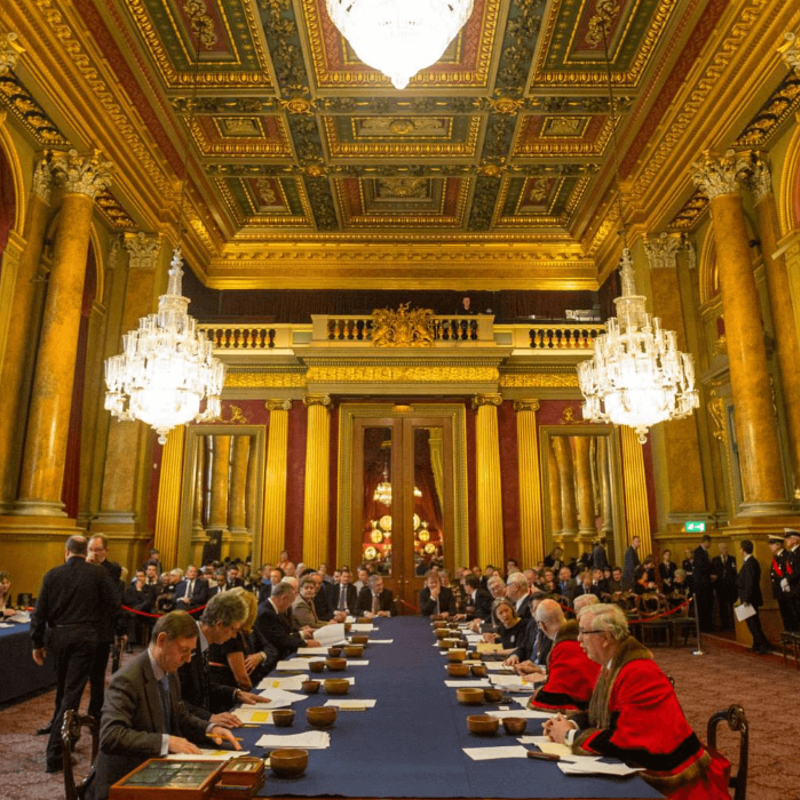
Trial of the Pyx
Since at least 1282, coins produced by the Royal Mint have been checked at the Trial of the Pyx.
Minting Equipment
The Royal Mint Museum is fortunate to possess coining and blanking presses from 100 or so years ago.
Coins
The Museum collection contains over 80,000 coins which span from ancient times to the modern day.
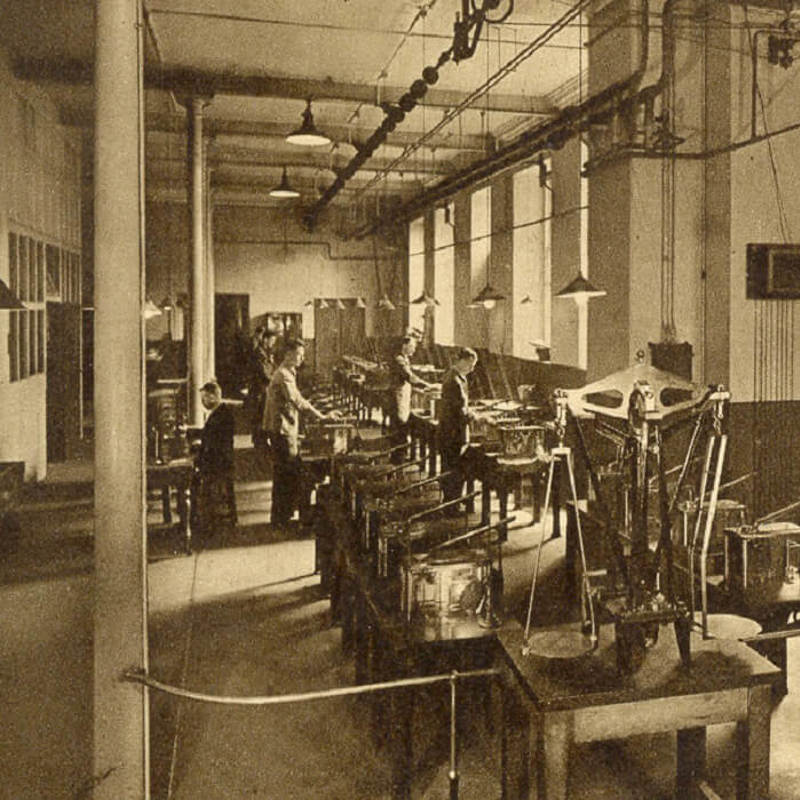
Automatic Balance
The automatic balance reflects the Royal Mint’s dedication to precision and technical accuracy.